Key Takeaways
- You need both PCSX2 and a PS2 BIOS file to run PlayStation 2 games on PC.
- Always download BIOS safely from trusted sources like PS2BIOSPro.com.
- After downloading, configure BIOS in PCSX2 only once the emulator will remember it.
- Adjust graphics and audio settings for smoother performance and better visuals.
- Keep your emulator and BIOS files backed up to avoid data loss.
- Use virtual memory cards to save progress easily across games.
- Apply speedhacks or lower resolution if games lag on low-end PCs.
- Regularly update PCSX2 to benefit from new optimizations and bug fixes.
To play PlayStation 2 games on your PC, you need two things the PCSX2 emulator and a valid PS2 BIOS file. The emulator handles the game processing, while the BIOS allows your computer to behave like an actual PS2 console.
In this complete guide, you’ll learn how to download PS2 BIOS, install PCSX2, configure settings, and run your favorite PS2 games smoothly.
What Is PS2 BIOS and Why You Need It?
The PS2 BIOS (Basic Input Output System) is a small firmware file that initializes PlayStation 2 hardware. It acts like the console’s brain, telling the emulator how to start and load games.
Without the BIOS, PCSX2 cannot boot or run any game. It’s essential for graphics, sound, and controller initialization.
Think of BIOS as your console’s ignition key without it, the system won’t start. That’s why setting it up properly is the first step toward smooth emulation.
Requirements Before Downloading PCSX2 Emulator
To download and run the PCSX2 emulator smoothly, your PC must meet a few essential requirements. These ensure you can emulate PlayStation 2 games without lag, crashes, or graphic glitches.
- OS: Windows 10/11 (64-bit), macOS 12+, or Linux
- CPU: Dual-core 3.0 GHz or higher (i3/Ryzen 3 recommended)
- GPU: DirectX 11 or OpenGL 2.1 compatible
- RAM: Minimum 4 GB (8 GB recommended)
- Storage: At least 1 GB free space
- Controller: Optional USB/Bluetooth gamepad
Software Needed:
- Microsoft Visual C++ 2022
- DirectX Runtime (June 2010)
- Latest GPU drivers
- .NET Framework 4.8+ (Windows)
BIOS:
- Legally dumped from your own PS2 console
- Place in
/bios/folder - Choose correct region (USA, Europe, Japan)
How to Download PCSX2? (Latest Version)
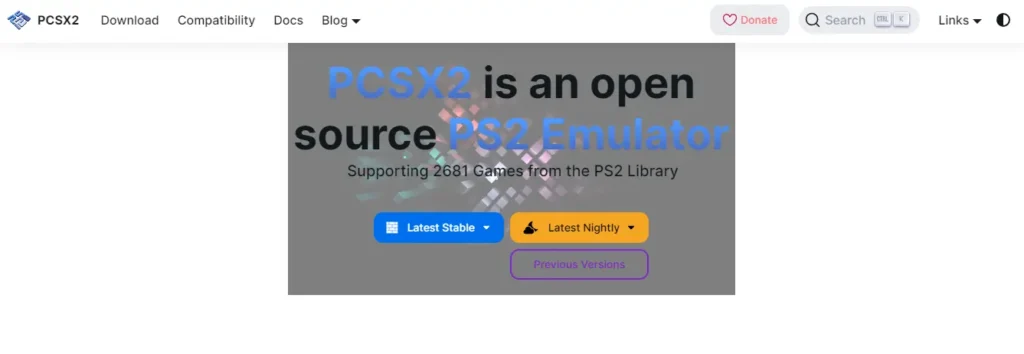
PCSX2 is the most popular and reliable PlayStation 2 emulator for Windows, macOS, and Linux. To make sure you’re getting the safest and most stable version, always download it from the official PCSX2 website. Here’s how to do it:
Step 1: Visit the Official PCSX2 Website
Go to the official PCSX2 website which is Pcsx2.net. It offers the latest builds, updates, and stable releases compatible with your operating system.

Step 2: Select Your Operating System
On the downloads page, choose the correct version based on your OS Windows, Linux, or macOS.
Step 3: Click on “Download Installer”
Click the Download Installer button to get the setup file.
If you’re on Windows, you can also download the portable version (no installation needed).
Step 4: Wait for the Download to Complete
Once the file is downloaded, locate it in your Downloads folder.
It should look something like:pcsx2-setup-[version].exe or pcsx2-[version]-portable.zip.
Step 5: Verify the File
Before installing, make sure the file is downloaded from the official PCSX2 site to avoid any modified or unsafe versions.
Pro Tip: Bookmark the official site to easily check for updates and bug fixes PCSX2 releases new stable versions frequently with performance improvements.
How to Set Up PS2 BIOS on PCSX2?
After installing PCSX2 and downloading the BIOS files from PS2BIOSPro.com, or dumping bios from own console the next step is to properly configure the BIOS inside the emulator. This setup ensures your PS2 games run smoothly without errors or crashes.
Follow these easy steps:
Step 1: Launch PCSX2
Open the PCSX2 emulator from your desktop or start menu.
If you’re running it for the first time, it will automatically open the First-Time Configuration Wizard.
Step 2: Open BIOS Configuration
If the wizard doesn’t appear, go to the top menu and click:
Config → BIOS → BIOS Selector
This section allows you to add or change your PS2 BIOS files.
Step 3: Browse for BIOS Folder
Click the Browse button and navigate to the folder where you saved your BIOS files.
For example:C:\PCSX2\BIOS
Step 4: Select the Correct BIOS File
Once you choose the folder, you’ll see a list of available BIOS files such as:
- SCPH-39004 (Europe)
- SCPH-70012 (USA)
- SCPH-10000 (Japan)
Select the one that matches your game’s region for best compatibility.
Step 5: Apply Settings
Click OK or Finish to save your configuration.
PCSX2 will now automatically load that BIOS every time it starts.
Step 6: Verify BIOS Setup
To confirm it’s working, go to System → Boot BIOS (No Disc).
If the PlayStation 2 logo appears, your BIOS is installed and working perfectly.
Pro Tip:
Always use the same BIOS region as your game. For example, USA BIOS for NTSC-U games, or PAL BIOS for European games. Mixing regions may cause black screens or lag.
Recommended PCSX2 Configuration Tips
These quick settings help improve graphics, sound, and gameplay performance on PCSX2. Adjust them once to get smoother gameplay and a more realistic PS2 experience.
- Use Direct3D 11 (Hardware) as the renderer for best performance and visuals.
- Set the internal resolution to 2x or 3x Native for HD-quality graphics.
- Enable texture filtering to make games look smoother and sharper.
- Choose XAudio2 in the audio settings and slightly increase latency if you hear sound crackles.
- Open Config → Controllers → Plugin Settings to map your keyboard or gamepad buttons.
- Create virtual memory cards (.ps2 files) to safely save your game progress.
- Use save states (F1 to save, F3 to load) for quick in-game saving without using memory cards.
- Keep all BIOS and game ISOs in organized folders for faster loading and fewer detection errors
Safety and Maintenance Tips
Following these safety practices keeps your emulator stable and prevents BIOS or game file corruption. A little maintenance goes a long way in ensuring smooth PS2 emulation.
- Keep backups of your emulator and BIOS files in a safe folder.
- Regularly update PCSX2 to the latest official build for better performance and bug fixes.
- Avoid modifying or renaming BIOS files, as PCSX2 may fail to detect them.
- Always scan downloads with antivirus software to ensure they’re clean and safe.
Conclusion
Setting up PS2 BIOS on PCSX2 is simple once you know the right steps. By downloading clean, region-specific BIOS files from PS2BIOSPro.com and placing them in your emulator’s BIOS folder, you ensure smooth compatibility and reliable performance. After configuring PCSX2 with the proper BIOS, you can enjoy your favorite PS2 classics with enhanced graphics, custom controls, and better sound all on your PC.
For the best results, follow the configuration and safety tips shared above. Keep your emulator updated, organize your BIOS and game files, and use safe download sources to avoid issues. With everything properly set up, PCSX2 transforms your computer into a high-quality PlayStation 2 experience easy, fast, and fun.
Frequently Asked Questions
Do I need to configure the BIOS every time I open PCSX2?
No, once you set the BIOS folder and choose a BIOS file, PCSX2 automatically remembers your settings. You only need to configure it again if you move or delete the BIOS files.
Can I use multiple BIOS files in PCSX2?
Yes, you can store several region BIOS files (USA, Europe, Japan) in one folder. PCSX2 lets you switch between them depending on the game’s region.
Why does PCSX2 run slow even with the right BIOS?
low performance usually depends on your hardware, not the BIOS. Try reducing the internal resolution, enabling speedhacks, or switching the renderer to Direct3D 11 (Hardware).
Does PCSX2 support widescreen or HD resolution?
Yes, PCSX2 supports custom resolutions and widescreen patches. Go to Config → Video (GS) → Plugin Settings and set the internal resolution to 1080p or higher.
Why does my controller not work in PCSX2?
Open Config → Controllers → Plugin Settings and re map your buttons. If you’re using a wireless or USB gamepad, ensure it’s properly connected and detected by Windows first.

