

Key Takeaways
- Dumping your own PS2 BIOS provides a safe and reliable way to run games on emulators without risking corrupted files.
- FreeMcBoot and Fortuna memory cards make it easy to launch uLaunchELF on most PS2 models for BIOS extraction.
- Using a USB drive to dump the BIOS works with all PS2 consoles and is the simplest method for beginners.
- Always check your dumped BIOS file for correct size, model number, and region to avoid emulator issues.
- Setting up the BIOS in PCSX2 or AetherSX2 ensures smooth gameplay, save states, and enhanced features.
You can dump the PS2 BIOS file from any PlayStation 2 console using FreeMcBoot and a USB drive or you can get it at ps2biospro.com It’s safer, cleaner, and works perfectly with any emulator. This process works on both Fat and Slim models, making it simple for all users. It allows you to run games smoothly on emulators like PCSX2 and AetherSX2. By creating your own BIOS file, you ensure safety and avoid unreliable downloads.
What Is a PS2 BIOS File?
A PS2 BIOS file is a system file that works like the brain of the PlayStation 2. It manages how the console starts and communicates with games. Emulators such as PCSX2 and AetherSX2 need this file to copy the PS2’s hardware. Without it, the games will not run correctly. Creating your own BIOS file from your console ensures smooth performance and keeps you safe from unsafe downloads.
Why You Need a PS2 BIOS File?
A PS2 BIOS file is required for emulators to run games smoothly, just like on a real console. It also unlocks features such as save states, faster loading, and stable gameplay.
Which tools Needed for PS2 BIOS Dumping?
For a smooth PS2 BIOS dumping process, having the right setup is important to avoid errors. With proper preparation, the extraction works safely on both Fat and Slim models. This ensures your BIOS file is created correctly and ready for use in emulators.
Hardware Essentials
- PlayStation 2 console (any Fat or Slim model).
- USB flash drive (4GB+, FAT32 formatted).
- Memory card with FreeMcBoot or Fortuna exploit.
- PC for file transfer and verification.
Software Tools Needed for PS2 BIOS File Dumping
- FreeMcBoot or Fortuna memory card to launch homebrew.
- uLaunchELF as the file explorer
- A BIOS dumper tool (from trusted sites like ps2-home).
Choose Your Method to Launch uLaunchELF
To extract the PS2 BIOS, you first need to run uLaunchELF, a homebrew file explorer that opens the dumper tool on your console. It can load software from USB drives or discs, with methods like FreeMcBoot for most users and FreeDVDBoot for specific models. Here are the main methods to launch uLaunchELF, each suited for different PS2 models.
1. FreeMcBoot Memory Card:
FreeMcBoot is a memory card exploit that opens a custom menu with uLaunchELF. It’s the easiest method because it doesn’t need discs or hardware changes.
It works best on all Fat PS2 models (like SCPH-30000) and most Slim models up to SCPH-70000. However, it doesn’t support the newer Slim versions (SCPH-90000 with date code >8B).
Steps:
- Buy a pre installed FreeMcBoot card online or create one using an already exploited PS2.
- Insert the card into Memory Card Slot 1.
- Turn on the PS2 without a disc.
- Select uLaunchELF from the FreeMcBoot menu.
Pros
Cons
Tip: Check the PS2’s serial number on the back to confirm if it’s compatible.
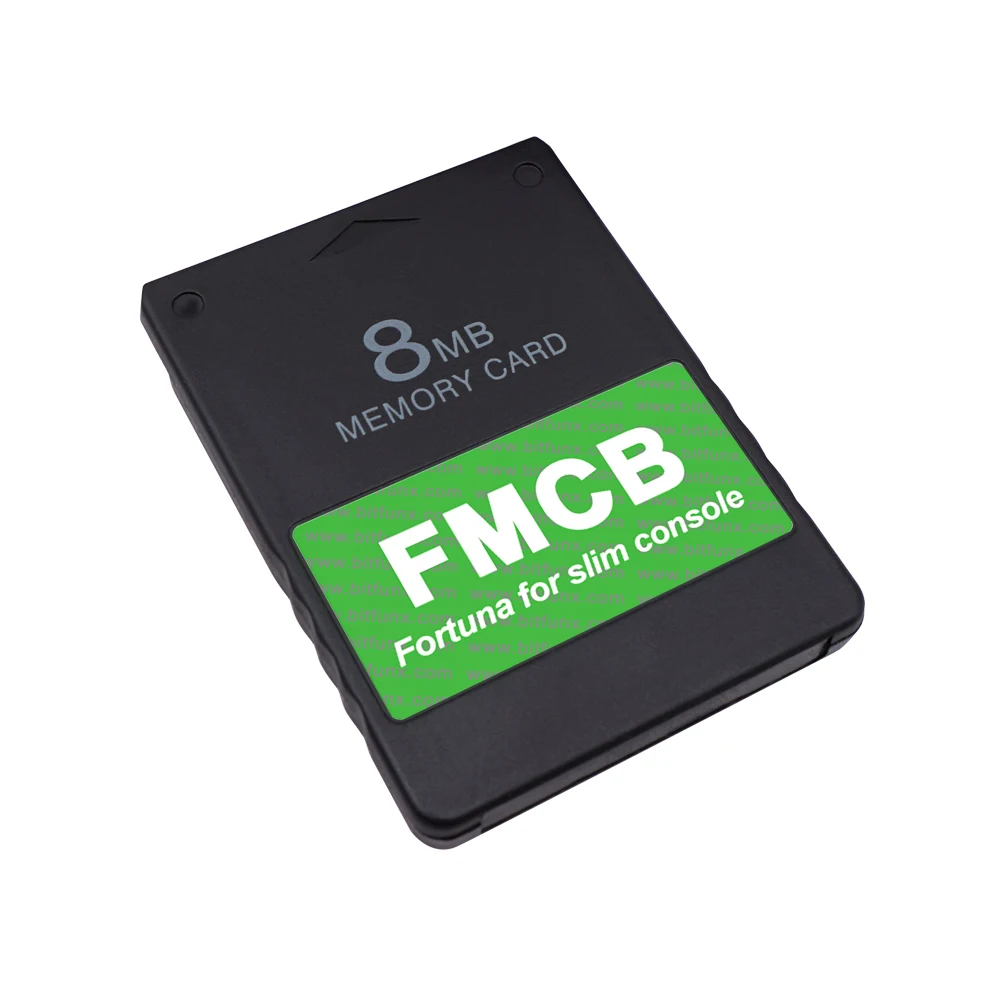
2. Fortuna Memory Card:
Fortuna is similar to FreeMcBoot but is made for newer Slim PS2 models. It also runs uLaunchELF through a custom menu.
It’s perfect for late Slim models (SCPH-90000, v9+), but can also be used on some Fat models.
Steps:
- Buy a pre flashed Fortuna card
- Insert it into Slot 1.
- Turn on the PS2.
- Select uLaunchELF from the menu.
Pros
Cons
Tip: If FreeMcBoot doesn’t work on your Slim PS2, try Fortuna instead.
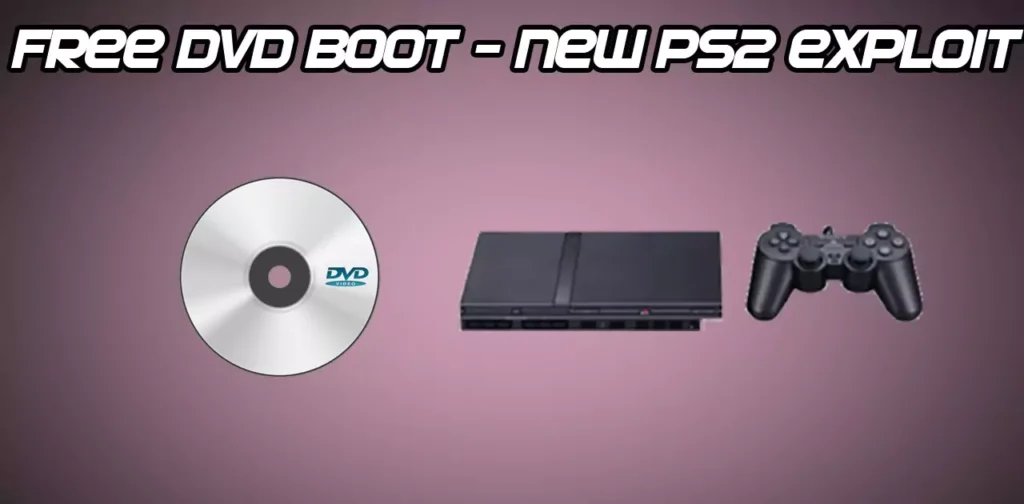
3. FreeDVDBoot Disc:
FreeDVDBoot uses a special ISO file burned to a DVD-R, which allows the PS2 to boot uLaunchELF directly without needing a memory card.
It works with most Slim models and some Fat models. You can check the official GitHub for compatibility.
Steps:
- Download the ISO for your PS2 model from FreeDVDBoot’s GitHub.
- Burn the ISO to a DVD-R at 4x speed using ImgBurn.
- Put the DVD-R into the PS2.
- Turn on or reset the console to load uLaunchELF.
Pros
Cons
Tip: Always use DVD-R (not DVD+R) and double-check compatibility online.
4. Disc Swap Exploits:
This method uses an original PS2 game disc and swaps it with a burned uLaunchELF disc at the right moment during startup. It costs nothing but needs good timing.
It can work on any PS2 model with a disc burner and an original game.
Steps:
- Burn the uLaunchELF ISO to a CD/DVD.
- Insert a genuine PS2 game disc and start the console.
- Swap it with the burned disc at the correct timing (check model guides online).
- If done correctly, uLaunchELF will load.
Pros
Cons
Tip: Search “PS2 disc swap [your model number]” for detailed instructions.
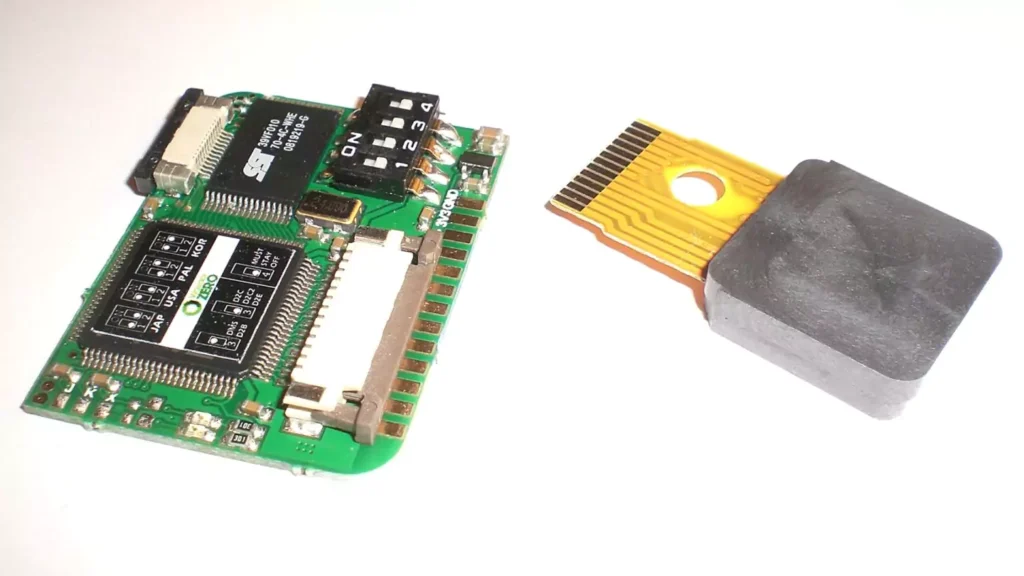
5. Modchips:
A modchip is a small hardware chip soldered into the PS2 that bypasses security and allows uLaunchELF to run. It’s often used to install FreeMcBoot or Fortuna.
It works on all models but requires advanced soldering skills.
Steps:
- Install a modchip inside the PS2 (requires soldering).
- Use it to set up FreeMcBoot or Fortuna on a memory card.
- Disable the modchip if needed (button combos vary by model).
- Boot uLaunchELF from the installed exploit.
Pros
Cons
Tip: Unless you’re skilled in electronics, use FreeMcBoot instead.
6. Swap Magic Disc:
Swap Magic is a commercial disc that tricks the PS2 into loading uLaunchELF through disc swapping. It’s simpler than the raw disc swap method, but still needs timing.
It’s best for early Fat and Slim models.

Steps:
- Buy a Swap Magic disc online.
- Burn the uLaunchELF ISO to a CD/DVD.
- Insert Swap Magic and start it like a game.
- Swap to the burned disc when prompted.
- uLaunchELF will launch.
Pros
Cons
Tip: Follow the Swap Magic manual closely for best results.
Also Read:
How to Download PS2 BIOS on Windows, Android, and Linux
Step By Step Guide to Dump PS2 BIOS FILE (USB Method)
The USB method is the simplest way to dump your PS2 BIOS because it works on all Fat and Slim models. You just need a USB drive formatted to FAT32 and uLaunchELF to extract the file safely.
- Format your USB drive to FAT32.
- Copy the BIOS dumper tool onto the USB.
- Insert the USB into your PS2.
- Launch uLaunchELF using your chosen method.
- Open the mass: drive in uLaunchELF.
- Run the dumper tool and select BIOS extraction.
- Wait 3–5 minutes.
- Remove the USB and connect it to your PC.
Your dumped BIOS file will look like scphXXXXX.bin and be about 4MB.
Network Dumping Alternative
If your PS2 has an Ethernet adapter, you can send the BIOS directly to your PC. This method is faster but requires extra setup compared to USB.
- Connect PS2 and PC via Ethernet.
- Install ps2link on your PC.
- Place the dumper in the host directory.
- Launch uLaunchELF → Run the dumper → Files transfer to PC.
This method is faster but requires more setup.
Verify Your Dumped BIOS File
Always make sure your dump is correct before using it. The file should be 4MB, start with “scph,” and match your PS2’s model number.
Setting Up the BIOS in Emulators
Setting up the BIOS in an emulator is the final step to make your PS2 games run. Once the BIOS is added, both PCSX2 on PC and AetherSX2 on mobile can boot games smoothly, giving you the same experience as playing on a real console.
PCSX2 (PC)
- Open PCSX2 → Settings → BIOS.
- Select your dumped .bin file → Save → Restart.
AetherSX2 (Mobile)
- Open Settings → BIOS.
- Import your .bin file → Restart the app.
When I loaded Gran Turismo on PCSX2 with my dumped BIOS, it ran perfectly, just like my old console.
Common Troubleshooting Tips
If you face issues while dumping or setting up your PS2 BIOS, most problems can be fixed with a few simple adjustments. From USB errors to emulator rejections, these quick troubleshooting tips will help you solve common problems easily.
- USB not detected: Reformat the USB drive to FAT32 and try using a smaller capacity stick (4–8GB works best).
- uLaunchELF not loading: If FreeMcBoot doesn’t work, especially on Slim models, switch to Fortuna or another compatible method.
- Dump incomplete: Run the process again, making sure your PS2 has stable power and you’re using a reliable USB drive.
- Emulator rejects BIOS: Double-check that the file size is exactly 4MB and that the BIOS region matches your games.
PS2 Model and BIOS File Reference
Every PlayStation 2 model comes with its own BIOS version, and choosing the right one is important for compatibility. Matching your console’s model number with the correct BIOS ensures smoother gameplay and fewer errors. Use this reference to quickly identify which BIOS file belongs to your PS2.
PS2 Model | Serial Number | Expected BIOS File Name |
|---|---|---|
Fat (Early) | SCPH-30000 | scph30000.bin |
Fat (Mid) | SCPH-50000 | scph50000.bin |
Slim (Early) | SCPH-70000 | scph70000.bin |
Slim (Late) | SCPH-90000 | scph90000.bin |
Conclusion
Dumping your own PS2 BIOS file unlocks the ability to play PlayStation 2 games on modern devices. Whether you’re using PCSX2 or AetherSX2, the BIOS is essential for smooth performance. With FreeMcBoot, Fortuna, or FreeDVDBoot, you can launch uLaunchELF, extract the BIOS, verify it, and load it into your emulator safely.
For me, reviving my PS2 brought back memories of late-night Resident Evil marathons with friends. Now you can relive those moments too. Following these steps, you can dump your PS2 BIOS file and enjoy classic games on modern emulators.
Frequently Asked Questions
Can I dump a PS2 BIOS without a USB drive?
Yes, you can use a PS2 memory card with FreeMcBoot to save the BIOS. Then transfer it to your PC using a memory card reader. Look up “PS2 memory card BIOS dump” for step-by-step guides.
What are the best PS2 BIOS versions for emulators in 2025?
For PCSX2 2.1, SCPH-70012 (Slim) works best. For AetherSX2, SCPH-50000 (Fat) is recommended. Always match the BIOS region with your games for smooth performance. Check PCSX2 forums for updates.
How do I know which PS2 model I have before dumping the BIOS?
Check the serial number on the back of your PS2 (e.g., SCPH-30000 for Fat). The date code matters for FreeDVDBoot compatibility. Search “PS2 model number” online to see images and confirm your model.
Can I dump a PS2 BIOS using a modern PC without a disc burner?
Yes, you can use FreeMcBoot or Fortuna with a USB drive on any PC—no burner needed. For SCPH-70000, just boot uLaunchELF and dump to USB. Search “PS2 BIOS no disc” for guides.